Retrospective Recording
We've all had this experience as musicians: Sometimes, we perform our best takes or have a phenomenal idea and then realize we weren't actually recording. With Retrospective Recording, you will never miss another great song idea again!
Retrospective Recording captures every note you play on your MIDI keyboard or controller... even without hitting Record. Even when the transport is stopped! It works invisibly in the background on a track-by-track basis. Controller activity is captured as well. The moment something brilliant happens, all you have to do is press [Shift]+[NumPad*] and the last performance will turn into an Instrument Part on the respective Track.
It's already active.
The Retrospective Recording feature is enabled by default. If you want to disable it, navigate to Studio One/Options/Advanced/MIDI/Enable retrospective recording (macOS: Preferences/Advanced/MIDI/Enable retrospective recording) and uncheck the option box.
Play vs. stop
Here's how it works. Studio One Pro maintains an independent buffer for each Track. When a Track is record-armed or monitored, Retrospective Recording captures all notes, controller and parameter changes, whether the transport is playing or stopped.
- Transport playing (but not recording): Captured events are stored with the correct Song location and Input Quantize is applied (if that feature is active).
- Transport stopped: Captured events are stored with times relative to each other.
Note that the buffer does not combine the events that are captured while the transport is playing with events that are captured while the transport is stopped. As soon as an event is received in one mode, the other mode will always delete the contents of the buffer.
Recalling captured events
When the buffer was captured in play and is recalled, the events are placed with the correct song position on the Track. When the events are captured while the transport is stopped and then the events are recalled, they are placed on the Track starting with the first event at the playback cursor position.
Recalled events are added to the Track using the same options as the standard recording process (Replace, Takes to Layers, Record Takes, Record Mix, etc.).
The buffer can be recalled in several ways:
- The default key command [Shift]+[NumPad*] recalls the buffer to the selected Track.
- [Right]/[Ctrl]-click on the Track control area and select "Recall Retrospective Recording" from the contextual menu.
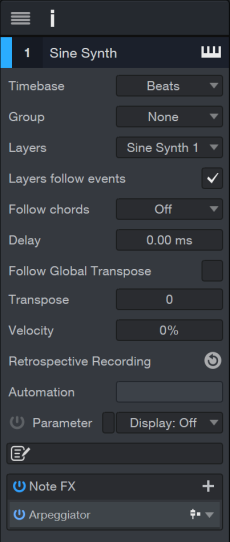
- Click the Retrospective Recording button in the Inspector:
Note that the command "Recall Retrospective Recording" can be assigned to a different keyboard shortcut if you like. To learn more, see Mapping Custom Key Commands .
Undo
If something unexpected happens when the events are recalled, such as the playback cursor is in the wrong position, the recall command can be undone (and redone) just like any other command.
Here's another example. Let's say the record mode was not correct when the events were recalled; you recalled the buffer when the record mode set to Replace, but you wanted it set to Record Mix. The undo functionality removes the events from the Track again and places them back in the buffer. Now you can change the recording option and recall them again using the new setting. Remember, if the buffer receives any new event after 'undo' the buffer is deleted.