Instrument Tracks
Instrument Tracks are where performance data is recorded, drawn, and edited. This data usually comes from a Keyboard, which is used to play a virtual instrument or hardware sound module. Performance data is not audio; the virtual instrument or sound module is the audio source.
In Studio One Pro, MIDI controllers are referred to as Keyboards. If you have not set up a Keyboard, refer to the Set Up Your MIDI Devices section of the Setup chapter.
Creating an Instrument Track
To create an Instrument Track, navigate to Track/Add Tracks or press [T] to open the Add Tracks menu.
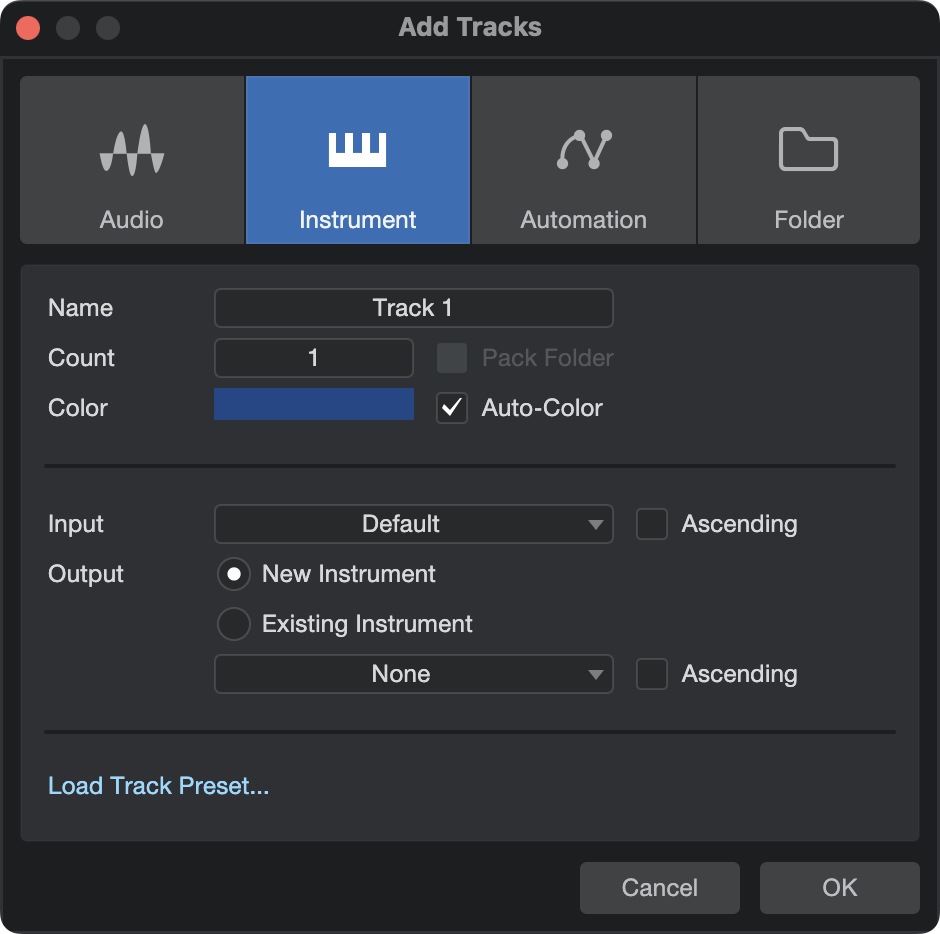
The following options are available in this menu:
- Name: Click here and type in a name for the new Track.
- Count: Choose the number of Tracks you would like to create.
- Type: Choose Instrument.
- Color: Choose a color.
- Auto-Color: Check this box if you would like your Tracks auto-colored.
- Input: Assign a MIDI input Device to the new Track(s). Choose All Inputs | Any to accept input from any connected MIDI Device.
- When creating multiple Tracks, you can engage the Ascending option to assign inputs to each Track in ascending order of device and MIDI channel.
- Output: Assign an Instrument to the new Track(s). To create a new instance of a software instrument for each new Track, choose New Instrument and select an instrument from the provided list. To assign the new Tracks to a hardware instrument or to a software instrument already in use in the Song, choose Existing Instrument, and select from the provided list.
- When creating multiple Tracks, you can engage the Ascending option to assign Outputs to each Track in ascending order of Instrument and MIDI channel.
Once these options are configured, click OK, and the Tracks appear in the Arrange view, below the currently selected Track. It is important to note that Instrument Tracks do not appear directly in the Console, as they do not output audio. The virtual instruments generate sound and are represented in the Console by Instrument Channels.
Alternatively, [Right]/[Ctrl]-click in a blank space in the Track Column of the Arrange view and select Add Instrument Track from the pop-up menu to quickly add an Instrument Track.
Configuring an Instrument Track
An Instrument Track can only receive input from a Keyboard that has been set up in the External Devices menu. To set up a Keyboard, refer to the Set Up Your MIDI Devices section of the Setup chapter. If you have a Keyboard set up as the default Instrument Track input, all Instrument Tracks default to using that Keyboard.
An Instrument Track can trigger a virtual instrument that has been set up in a Song or an external instrument. The Instrument Track Input and Output can each be selected in one of two places:
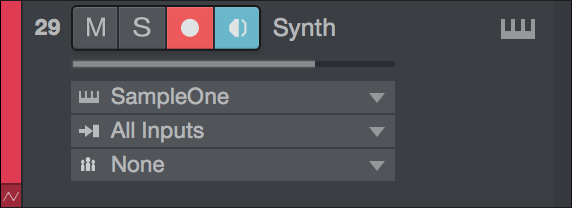
Selecting an Instrument Track Input or Output from the Track Column:
- Set the Arrange view Track size to medium or larger to be able to access the current Instrument Track Input.
- There are two I/O selectors on each Instrument Track. Click the top selector to choose an output to any previously set up virtual or external instrument. Click the bottom selector to choose from any configured Keyboard input.
Selecting an Instrument Track Input or Output from the Inspector:
- Open the Inspector window by clicking on the [I] button above the Track Column or by pressing [F4] on the keyboard.
- Click the Input or Output selector to select from any configured Keyboard input or to trigger any previously set up virtual or external instrument.
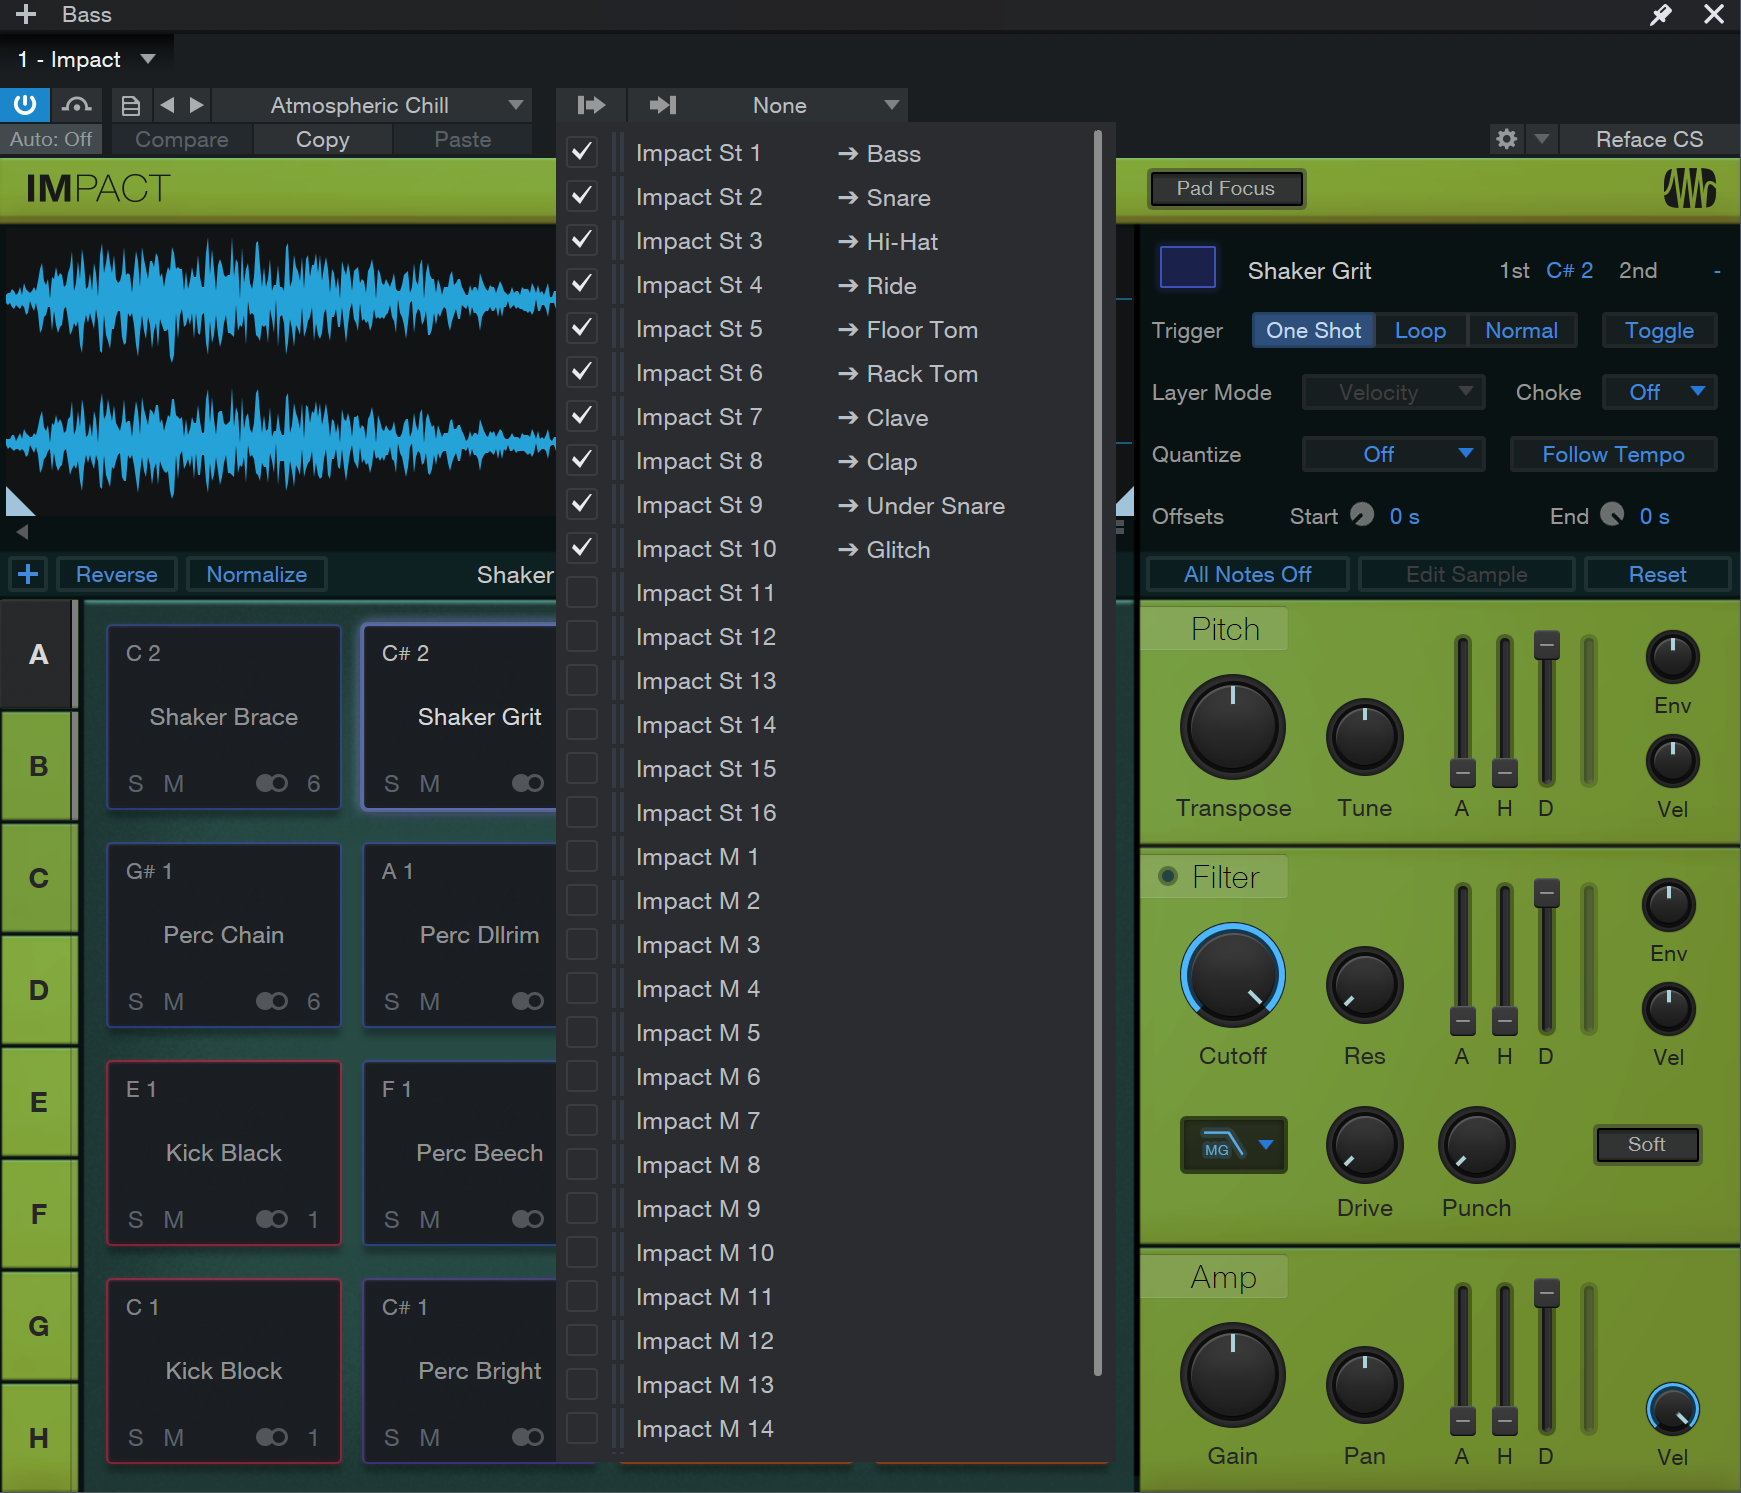
Press [F11] to open the instrument editor for the selected Instrument Track.
Note that it is possible to select All Inputs as the input for Instrument Tracks, which combines the input of all defined keyboard devices. If Default Instrument Input is not checked for any Keyboard device, new Instrument Tracks automatically use All Inputs.
This item is always in the inputs list, even if no keyboard device is defined. However, for any MIDI input to be received on an Instrument Track, your MIDI input device (Keyboard Controller, etc.) must first be set up in the External Devices menu as a Keyboard.
Set Up a Virtual Instrument
Studio One Pro supports VST and AU virtual instruments, and Studio One Pro's Native virtual instruments. The difference between these types of virtual instruments is transparent to the user in Studio One Pro, as they are all handled in the same manner. To use any VST or AU virtual instrument, you need to be sure Studio One Pro knows where they are installed on your computer. Refer to the VST Plug-ins section of the Setup chapter for more information on locating your plug-ins.
Add a Virtual Instrument from the Browser
To add any VST, AU, or built-in virtual instrument to your Song, open the Browse view and click on the Instruments tab to view your virtual instrument. Then do one of the following:
- Click on and drag any virtual instrument to an empty space in the Arrange view to simultaneously add the virtual instrument to your Song and create an Instrument Track with its output routed to the virtual instrument. The Instrument Track conveniently inherits the name of the virtual instrument.
- Click on and drag any virtual instrument on top of an existing Instrument Track to replace the Track’s current virtual instrument.
- Click and drag any virtual instrument from the Instruments tab to the Console to simply add the virtual instrument to your Song. In order to control or play this virtual instrument, you need to select it as the output for an Instrument Track.
- The virtual instrument is now set up and ready to play and has one or more dedicated Audio Channels in the Console.
Once a virtual instrument is added to your Song, be sure that an Instrument Track is routed to it so that the instrument can be played.
Set Up Multiple Virtual Instrument Outputs
Many virtual instruments have the capability to send audio on more than one channel. In Studio One Pro, only the first output or output pair of any virtual instrument is active by default.
To activate the other possible virtual instrument Output Channels in the Console:
- Open the Console by pressing [F3] on the keyboard, then open the Instruments panel (open by default) by clicking the [Instr.] button to the far left of the Console.
- Click once on the virtual instrument in the Instruments panel, and the Output Channel activation menu expands.
- Click on the checkbox next to any output to activate that output for the virtual instrument.
- Each active virtual instrument output has a dedicated Audio Channel in the Console, as well as a level meter preview inside the Output Channel activation menu.
You can also activate virtual instrument outputs in the plug-in window. Any virtual instrument plug-in that offers multiple Output Channels has an Outputs button near the top of the plug-in window. Click on this button to view and activate the available outputs.
Record Enabling an Instrument Track
To record musical performance data to an Instrument Track, the Track must be record-enabled. To record-enable an Instrument Track, click on the Record Enable button once; it should turn red.
Also, note that monitor-enable is, by default, automatically engaged when Record Enable is engaged. This behavior can be configured in the Studio One/Options/Advanced/Devices menu (macOS: Preferences/Advanced/Devices). If note data arrives from the Track’s selected Keyboard, the Instrument Track’s meter moves up and down, corresponding to that input.
Once an Instrument Track is record-enabled, you are ready to record musical performance data to that Track. Refer to Activating Recording for more on this topic.
Monitoring an Instrument Track
Instrument Tracks record and output musical performance data, not audio. The virtual or external instrument to which the Instrument Track is routed generates the audio. The following describes how virtual and external instrument audio output is monitored.
Disabling an Instrument Track
When working in large Songs with high Audio and Instrument Track counts, it can be useful to disable certain Tracks that are not currently in use, to free up CPU and RAM resources for use elsewhere. Disabling an Instrument Track also disables and unloads any Insert effects used. To disable an Instrument Track, [Right]/[Ctrl]-click the Track in Arrange view, and choose "Disable Track" from the pop-up menu. To re-enable a disabled Instrument Track, [Right]/[Ctrl]-click the Track and choose "Enable Track" from the pop-up menu.
Monitoring a Virtual Instrument
Virtual instruments usually load with a default sound; however, you should be sure that the virtual instrument you wish to monitor is set up correctly to generate audio. With the Output of an Instrument Track routed to the virtual instrument you wish to monitor, click on the Monitor button, and it turns blue.
You should now be able to play the Keyboard that you selected as the input to the Instrument Track and should see the Track meter moving, as well as hear the audio output of the virtual instrument. If you cannot hear the audio output of the virtual instrument, make sure that your virtual instrument is set up correctly and that the corresponding Audio Channels in the Console are not muted.
If you select the Instrument Input Follows Selection option in the Options menu, any Instrument Track you select automatically has Monitor and Record enabled, and all other Instrument Tracks have these disabled.
Monitoring an External Instrument
You can use an Aux Channel to monitor the audio output of an external instrument if you don't want to record the audio to your hard drive. This is useful when working with an external MIDI hardware synthesizer, for example, as you can make changes to the MIDI data on an Instrument track without needing to record another take to your hard drive. Audio from the device returns through your audio interface into an Aux Channel in the Console, where it becomes a part of the mix like any other track.
Remember, if your external instrument is also a controller (such as a keyboard workstation), you need to set it up twice. First, set it up as an External Instrument without a Receive From selection, and then set it up as a Keyboard, without a Send To selection. This allows the keyboard-controller section of the workstation to be used as a source for Instrument Tracks, while allowing the synthesizer section to be used as an external instrument.
Here's how to set up an Aux Channel for an external instrument:
- If you haven't already done so, set up the external instrument as a MIDI device.
- Press [F3] to open the Console.
- Click [External] in the Console Navigation column to open the External Devices panel.
- Click the menu arrow for the external device.
- Select Edit from the menu to open the control mapping window.
- Click the Outputs button (
 ).
). - Select Add Aux Channel at the bottom of the window. An Aux Channel appears in the Console.
- If your external instrument has multiple outputs connected to your audio interface, add as many Aux Channels as you need.
- Important: Click Save Default before closing the window. This makes it easy to create new instrument tracks with the Aux Channels already mapped. See Make an Instrument Track for the Aux Channel to learn more.
- Route the Aux Channel to the desired output. Your external device is now available the Console.
Remember that the external instrument needs to be physically connected to one or more inputs on your audio interface, since its audio will always be "live".
Note also that running external audio signals through the Console means that bouncing, rendering and mixdown automatically switches to real-time.
Rendering Note FX
If you wish to make the effects of Note FX processing permanent (part of the note data, rather than a real-time process), select the Track and navigate to Event/Render Instrument Tracks, or [Right]/[Ctrl]-click the desired Part in Arrange view and choose Instrument Parts/Render Instrument Tracks from the pop-up menu.
This also makes permanent any transposition or velocity changes you've made within the Inspector view for the track.