Show Controls
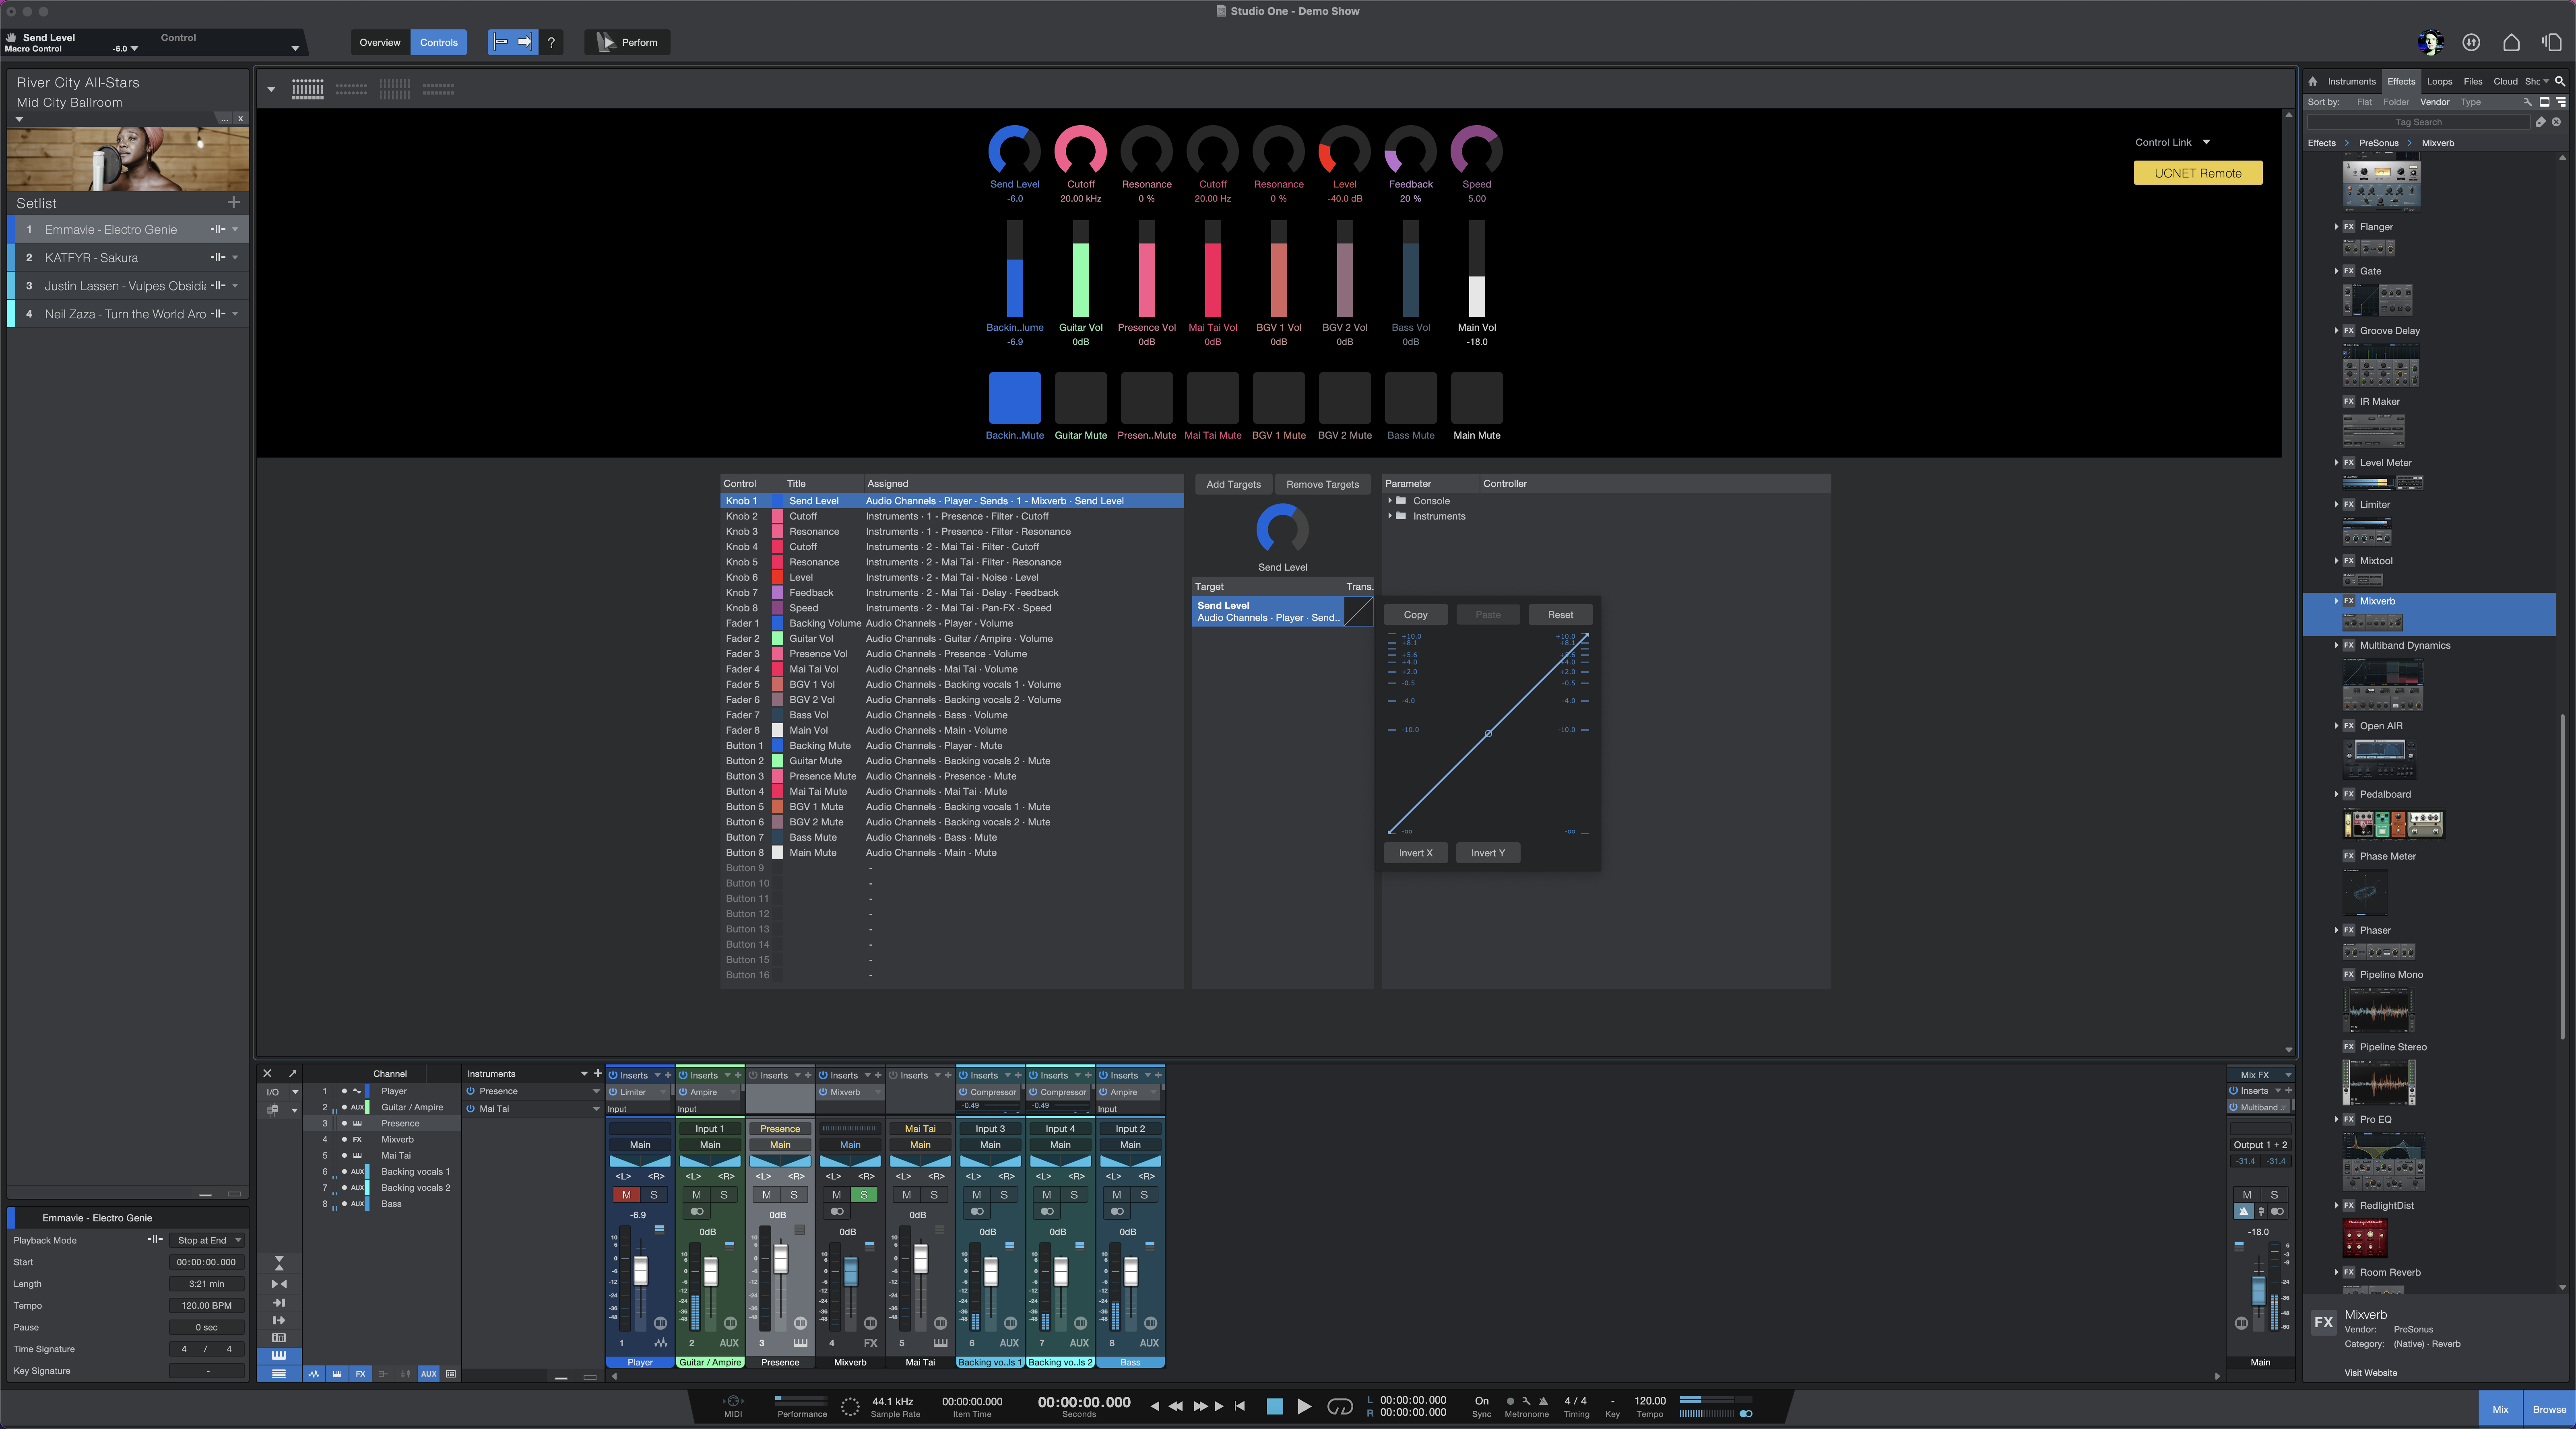
The Controls view lets you map the parameters of any Player instrument, plug-in or mixer channel to a set of up to 24 controls (knobs, faders, and/or buttons), which are available in four predefined configurations. These controls then can be mapped to similar controls on a hardware controller such as the PreSonus FaderPort 8 or -16, the ATOM or ATOM SQ, or any other external MIDI controller.
Select a Configuration

The four buttons at the top of the Controls view window are used to select a configuration. From left to right the configurations are 8 Buttons + 8 Knobs + 8 Faders, 16 Knobs, 16 Faders, and 16 Buttons. Select one of these configurations to use it in the current Show.
The arrow opens a window so you can preview the configurations. Up to 16 of the controls you see can be assigned to control multiple parameters. These customized Macro Controls play a prominent role in the Performance View.
Configuration 1: 8 of Each
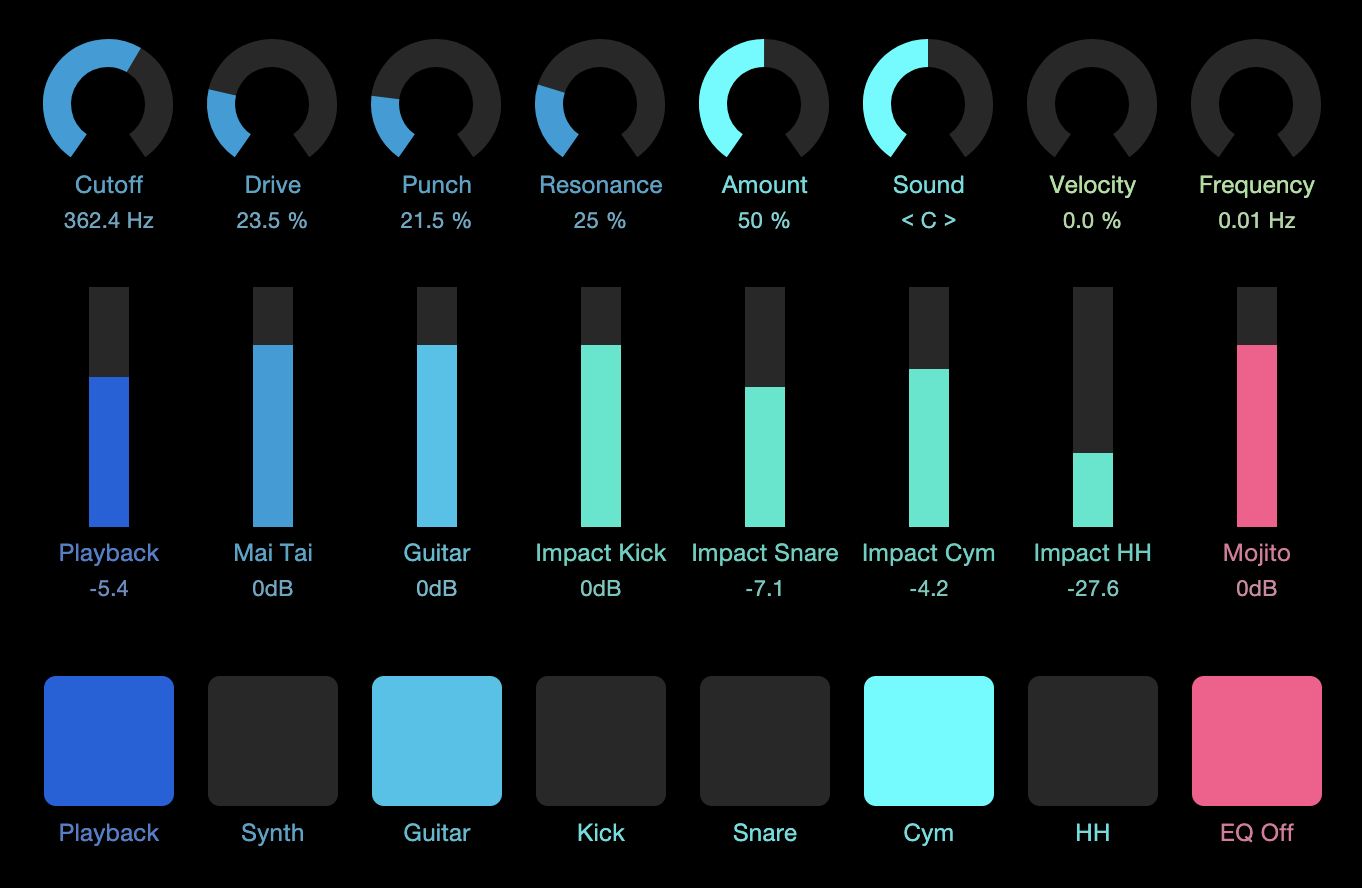
This configuration shows 8 of each type of control (Knobs, Faders, and Buttons). Choose up to 16 of those controls and assign them as needed. Their individual behaviors can be adjusted in the "Trans." area of the Targets column.
Configuration 2: Knobs
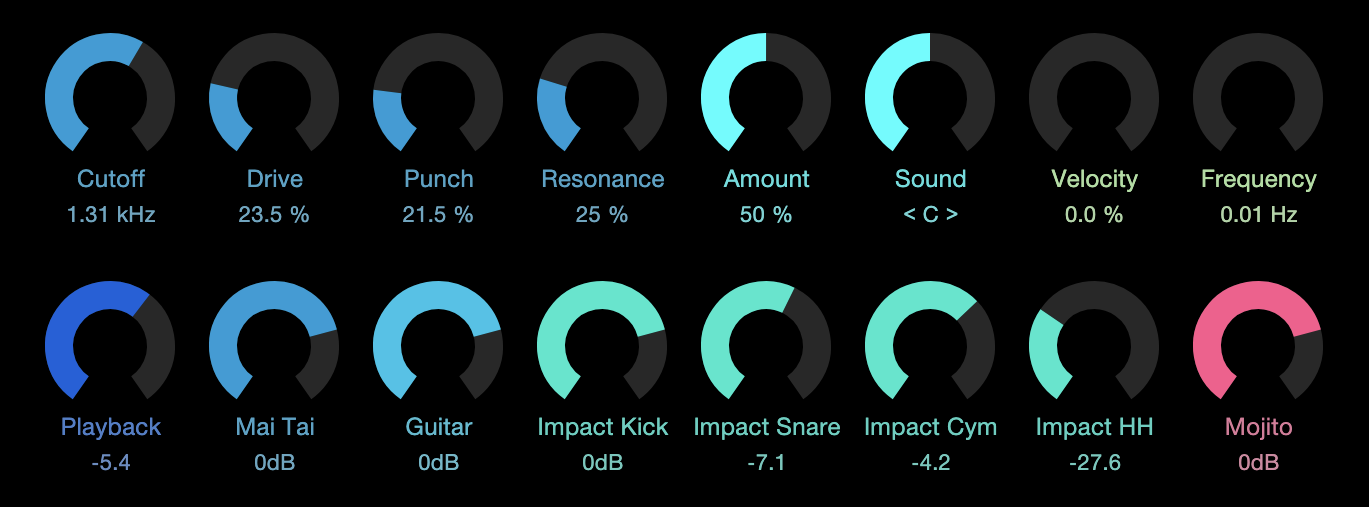
This configuration shows 16 assignable knobs. You can assign them as needed. Their individual response curves can be shaped in the "Trans." area of the Targets column.
Configuration 3: Faders
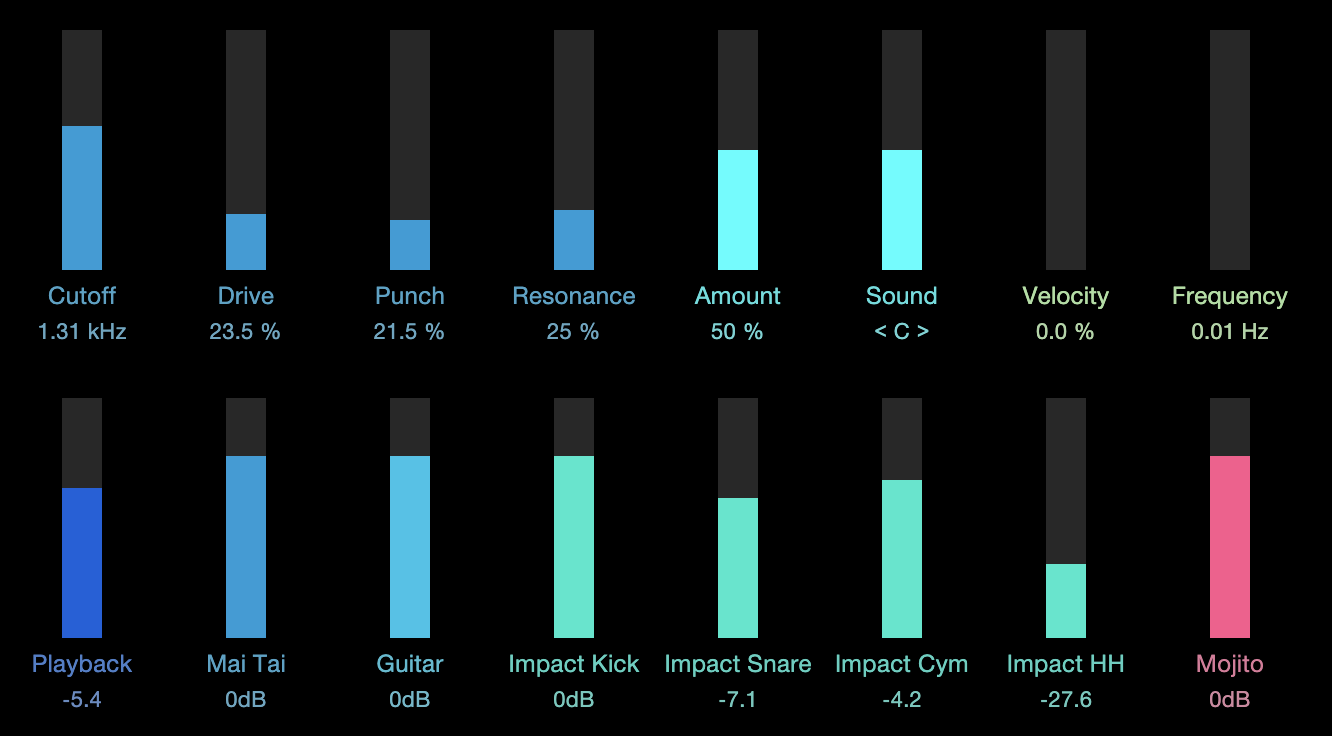
This configuration shows 16 assignable faders. You can assign them as needed. Their individual response curves can be shaped in the "Trans." area of the Targets column.
Configuration 4: Buttons
This configuration shows 16 assignable buttons. You can assign them as needed to toggle parameters on and off. Their performance can be inverted by selecting that behavior in the "Trans." area of the Targets column.
The Preview Window
Click the arrow to open the preview window. Here's a quick description of how it works.
- As each configuration is selected the window changes to display the selected configuration.
- You can click-and-drag the variable Macro Controls (knobs, faders) to change their values, and you can click anywhere inside a fader to jump to a new value. The status of a button can be toggled by a click.
- Hover the cursor below a Macro Control until an arrow appears. You can then click to open the color selection menu for that control.
- Double-click the name field under a Macro Control to rename it. Double-click the value field to enter a specific value.
- [Right]/[Ctrl]-click to view the current assignment, enter a new value, or clear the connections for that Macro Control.
- As a Macro Control is activated the response is also visible in the Control Link view on the left side of the Studio One Pro toolbar. This is true of the selected control in the Targets column as well.
It's easy to make a Macro Control assignment. We'll describe that in the next section.
Assigning a Macro Control

The Macro Controls Mapping view shows three columns of information. The left column lists all available Macro Controls and their current assignments (if any). The right column shows all plug-ins that are currently part of the Show. Expand any plug-in in the list to show all assignable parameters for that plug-in. The central Target column is a place where Macro assignments can be made, configured, or broken.
You can assign an unlimited number of parameters to the same Macro Control, each with its own range and polarity, to create powerful “morphing controls”. As more parameters are assigned to a Macro Control, plus signs (+++) are added to the right of the default name in the Title column. You can rename the Macro Control if you like; just double-click the name in the Title column.
You also can choose a specific color for a Macro Control. To do this, click the box between the Control and Title columns for that Macro Control. Select a color and the menu will close. You'll see that color whenever this Macro Control has a non-zero value.
When working with the built-in PreSonus plug-ins, assigning parameters to Macro Controls is very easy—simply [Right]/[Ctrl]-click the control of choice, select "Connect (name of control) to Channel Macro Control" from the pop-up menu, then choose the desired Macro Control from the secondary pop-up list.
Add/Remove Targets
The simplest way to map a parameter to a Macro is to drag the parameter from the right column onto the Macro Control of your choice in the left column, or into the central Target column when a Macro Control is selected. You can also do this by selecting a Macro Control and a parameter, and clicking the [Add Targets] button. Alternatively, you can drag the parameter directly onto a Macro Control in the Preview window. However you do it, once the assignment is made, the parameter of your choice is displayed in the Target column.
To remove an assignment from a Macro Control, select the Macro in the left column, select the assignment you wish to remove in the Target column, and click the [Remove Targets] button.
Transform Window
You can shape the relationship between the movement of a Macro Control and the settings of its assigned parameters quite extensively. With a Macro Control selected in the left column of the Macro Controls Mapping view, the current mappings for that control are displayed in the Target column. Next to the name of each parameter is a button that gives you access to the control transform settings.

This graph traces the response curve from the beginning of the control's travel (the draggable point on the left end of the curve) to the end of its travel (the point on the right end), with a handle in the middle that you can drag to set the shape of the curve. Dragging these points up and down the control scales on the left and right of the graph lets you set the effective range of motion for that Macro Control.
For example, the whole range of a Macro knob could be set to affect just a quarter of a parameter's range, for fine-tuning purposes. You can also move the right point below the left, reversing the action of the knob, according to whatever scale you wish.
Located above and below the graph are buttons that let you Reset the graph to its default setting, Invert the shape of the curve, or Copy the curve setting and Paste it onto another parameter.
Note that because Macro buttons are a binary control, they have no curve setting. However, clicking in the Trans. column next to a button assignment inverts its response, causing the parameter to be enabled when the Macro button looks disabled, and vice-versa.
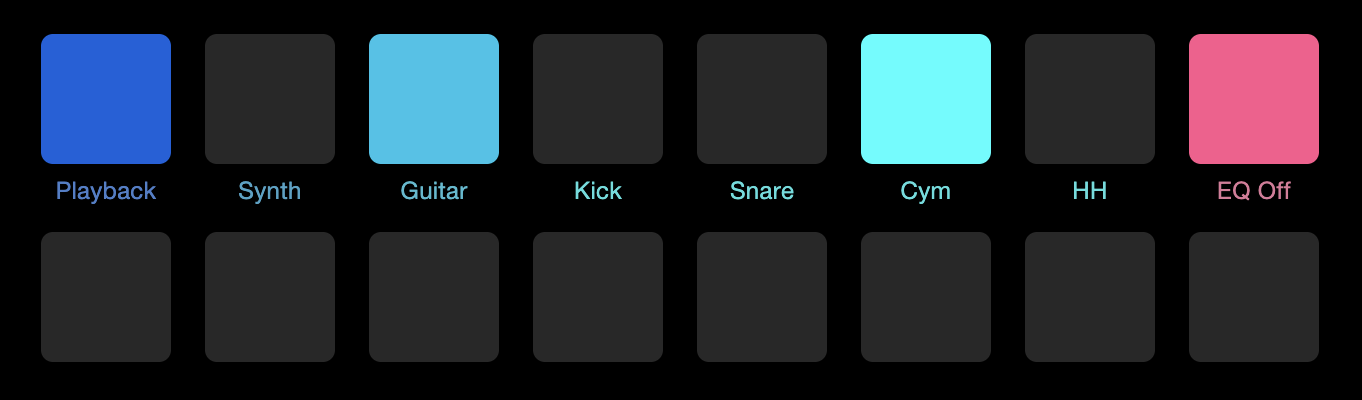
Control Link

Click the Control Link button to enable or disable the connection to your controller. Click the arrow above the button to open a menu of available controllers and make a selection. For more details on how to map a hardware controller, see the Control Link chapter.