Edit View Event Editing
In many cases, editing actions require a close look at the Events being edited. To perform these edits in the Arrange view would require zooming in to a level that would make it difficult to retain your sense of the overall Song structure, then zooming back out after the edits are performed. Edit views allow you to avoid this inefficiency. To open the Edit view for the selected Event, click on the [Edit] button, press [F2] on the keyboard, or double-click on any Event. You can also open the Editor by selecting Editor from the View menu. While there is a common Edit view, Audio Events open in the Audio Editor, and Instrument Parts open in the Note Editor.
The Edit view displays the currently selected Event on a timeline that is independent of the Arrange view timeline. By default, the Edit view timeline is zoomed in further than the default Arrange view timeline. While the Edit view is open, [Alt]/[Option] + double-click an Event in the Arrange view to zoom the Editor so it contains the full Event. Note that the [Synchronize Editor to Arrangement] button must be disengaged to use this command.
The Editor can be detached to its own sizable window by clicking on the Detach button at the upper right of the Editor. The window can then be pinned to the new location by clicking the Pin icon in the upper right corner of the window. This allows you to view the same or different contents in multiple edit windows side-by-side. Any Track can then be selected from the Track drop-down selector to the upper left of the Editor window, under the toolbar.
The [Action] button (available in both the Audio and Note Editors) gives you quick access to functions you might normally access by [Right]/[Ctrl]-clicking on an Event and exploring the Audio or Musical Functions sub-menus.
Audio Editor
The Audio Editor display operates independently of the Arrange view and has an independent Timebase setting. Most options that appear in the Editor are the same as in the Arrange view and affect tools and Events in the same way. Note that the Snap and Timebase settings are not shared between the Arrange view and Editor; they remain independent. A Snap to Event Hotspots option is found in the Editor Snap dropdown menu; it allows tool and Event snapping to hotspots such as Bend Markers. The dropdown menu also includes a Snap to Zero Crossings option, which will help avoid an unnatural click at the beginning of the audio data when the Event is moved or split.
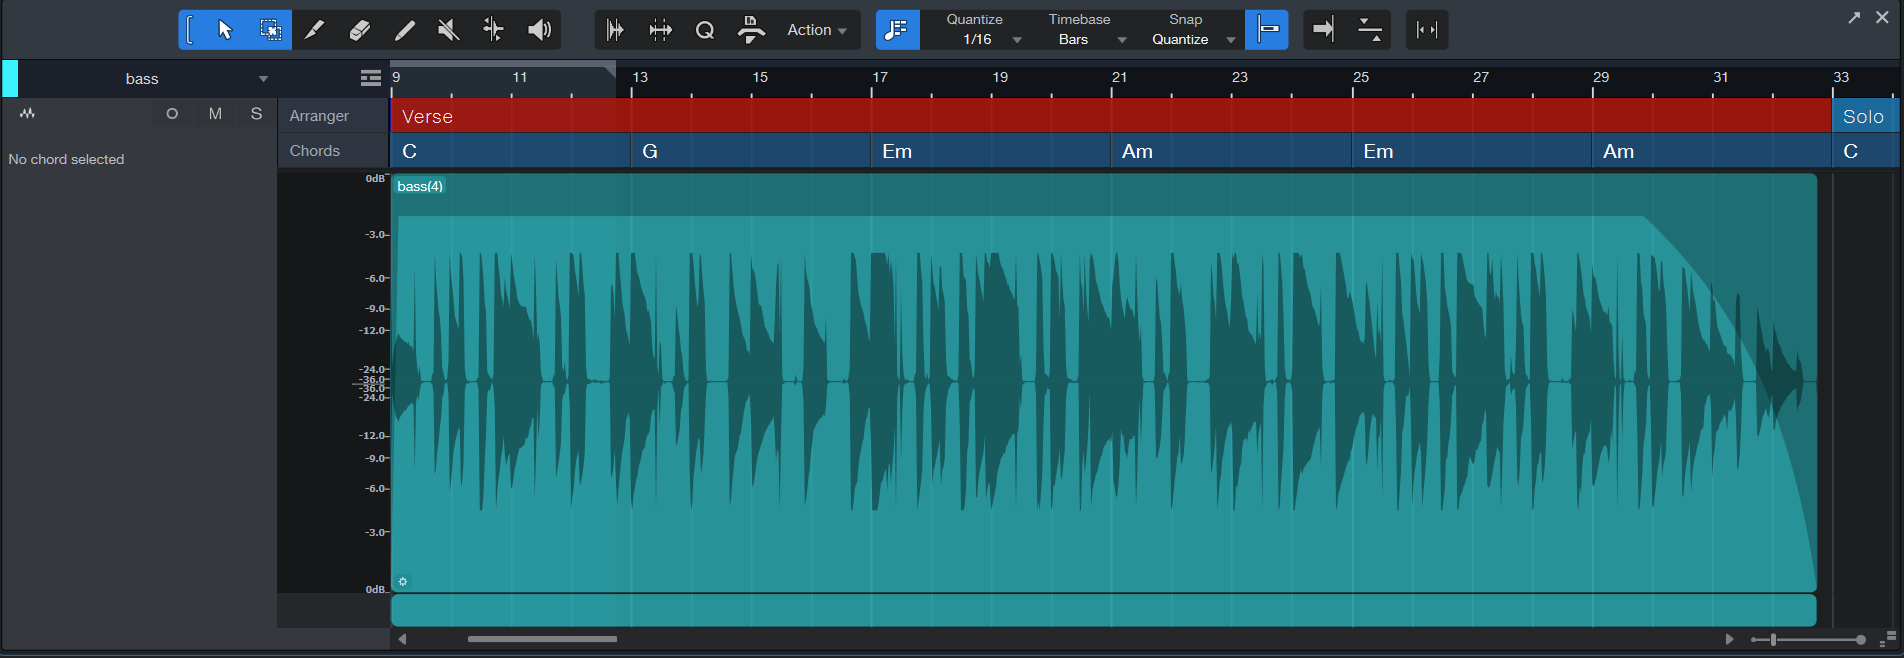
The displayed level scale to the left of the waveform lane in the Audio Editor can be adjusted by clicking on it and dragging left or right. This effectively zooms the waveform amplitude, which may be useful when editing audio with relatively low levels. [Right]/[Ctrl]-clicking in this area allows the selection of a percentage- or dB-based scale. You can also adjust this zoom level by manipulating the Data Zoom parameter, found to the right of the Time Zoom slider control.
Tools
Most of the tools in the Arrange view are available in the Audio Editor and function there exactly as they do in the Arrange view (the Paint tool is the only tool not available in the Audio Editor).
Note Editor
Instrument Parts contain notes, which represent musical performance data and are a type of Event. Notes can be moved, cut, copied, pasted, duplicated, and drawn using mouse tools, key commands, and certain Event menu commands. Multiple notes can be selected and edited together, as with other Events.
For quick editing of all notes in a Part or on the Track, use [Ctrl]/[Cmd]+[A] to select all of the notes in the focused Part in the Note Editor or [Ctrl]/[Cmd]+[Shift]+[A] to select all notes in all Parts on the Track. You can also access the full set of selection actions by navigating to the Select section of the Edit menu.
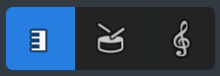
The View buttons on the left side of the Note Editor toolbar provide
-
Piano View displays the note data in "piano roll" style. A vertical keyboard graphic helps visualize notes and scales, and can be used to trigger the notes. For more information about the Piano view, see the Note Editor page.
-
Drum View removes the vertical keyboard and allows more room to display sample names horizontally for each vertical note position. For more information about the Drum view, see the Note Editor page.
-
Score View shows the note data on a musical staff, where you can add musical symbols for dynamics and articulations that also enhance playback. For details about Score view, see the The Score Editor.
Cut, Copy, Paste, and Duplicate Notes
You can cut, copy, paste, and duplicate notes exactly as you can with Events in the Arrange view, as described in the Common Editing Actions section of this chapter. It is also possible to cut or copy notes and then paste them (or simply drag-and-drop them) directly into the Arrangement onto a selected Instrument Track. Doing this creates a new Instrument Part containing the selected notes.
Transposing Notes, Instrument Parts, and Tracks
Transposing notes, or changing a group of notes by a given interval, is a common action that takes advantage of the flexibility of note data. It is possible at any time to transpose notes, a whole Instrument Part, or all of the contents of an Instrument Track.
To transpose a note or group of notes within an Instrument Part, open the Note Editor by double-clicking on the desired Part, and do the following:
- Select all of the notes you wish to transpose.
- Select Transpose from the Musical Functions sub-menu, which can be accessed from the Event menu, the [Action] button, or by [Right]/[Ctrl]-clicking within the Edit view.
- Choose from one of the preset transpositions or use the horizontal fader to set the number of semitones by which the selected notes are transposed (or simply enter a semitone value into the text field). A positive number results in the notes being transposed up, and a negative number results in the notes being transposed down.
To transpose an entire Instrument Part:
- Select the Part you wish to Transpose in the Arrange view.
-
Select Transpose from the Musical Functions sub-menu, which can be accessed from the Event menu, the [Action] button, or by [Right]/[Ctrl]-clicking within the Edit view.
- Choose from one of the preset transpositions or use the horizontal fader to set the number of semitones by which the selected Part is transposed (or simply enter a semitone value into the text field). A positive number results in the Part being transposed up, and a negative number results in the Part being transposed down.
When transposing notes or Parts, the notes are moved graphically to represent the change. In this case, the notes displayed are the notes you hear.
You can also use this Transpose function to set all selected notes (or all notes in a selected Part) to the same note value by enabling Set All To, then selecting your note value of choice, and pressing [OK].
To transpose all of the contents of an Instrument Track:
- Select the Instrument Track you wish to transpose.
- Open the Inspector by pressing [F4] on the keyboard.
- Enter a value in the Transpose field for the number of semitones by which the Track is transposed.
When transposing a Track via the Inspector, the transposition is not reflected graphically. The positions of the notes in all Parts on the Track remain unaffected. In this case, the notes displayed may not be the notes you hear. This parameter also affects the notes you hear when you play your Keyboard.
Quantizing Instrument Parts
Quantizing Instrument Parts allows you to realign notes in time to match a given time subdivision or other grid more closely. In practice, quantizing is generally used to clean up note timing to more closely match the intended timing, although it can also be used creatively.
The results of quantizing are determined with the Quantize settings as found in the Quantize panel. The Quantize panel allows precise control over all quantize settings. Refer to the Quantize Panel section for more information.
It is possible to extract a groove from an instrument part by dragging-and-dropping it into the Groove section of the Quantize panel, just as with an Audio Event. Any Instrument Part or Audio Event can then be quantized to that extracted groove.
To enable quantizing notes while recording, open the Record Panel by selecting Record Panel in the View menu (or pressing [Alt]/[Option] + [Shift] + [R]), then Click on the Input Quantize button. Input quantization can be undone if you want to use the performance as it was played.
Quantize and Restore Timing
To quantize an entire Instrument Part, select the Part in the Arrange view and press [Q] on the keyboard or choose Quantize from the Musical Functions menu. To quantize an individual note or notes, select the notes in the Note Editor and then apply quantization, as before.
Alternatively, if notes are selected in the Note Editor, and then the Quantize value is changed with Auto engaged (toggled with the small [IQ] button, next to the Quantize value in the Editor toolbar), the selected notes are automatically quantized using the newly selected Quantize value.
Furthermore, you can quantize note ends, which adjusts the Note Off time for any selected notes, by selecting Quantize End from the Musical Functions menu.
To restore the original timing to quantized Instrument Parts or notes, select the Part or notes and press [Shift]+[Q] on the keyboard, or select Restore Timing in the Musical Functions menu.
Freeze Quantize
It is sometimes very helpful to make note quantization permanent so you can quantize again based on the current quantized positions, rather than the original note positions. To do this, select the notes and select Freeze Quantize from the Musical Functions menu. You cannot Restore Timing for these notes, as the newly quantized positions effectively become the original positions.
Humanize
Strictly quantizing every note so that rhythms are perfectly precise can cause notes to sound lifeless and mechanical. The Humanize function alters note start and end times and velocity within a very small threshold, based on rules modeled on common human performance patterns. This provides just enough variation to make a performance sound more like a human played the parts.
To use this function, select any notes and then choose Humanize from the Event/Musical Functions menu. Note that the exact results cannot be directly controlled. You can also choose to Humanize Less, which alters the notes in a similar fashion as Humanize but based on rules designed to result in less-humanized performance patterns.